Importing images
There are multiple ways to import your images and photos into a pagestrip document.
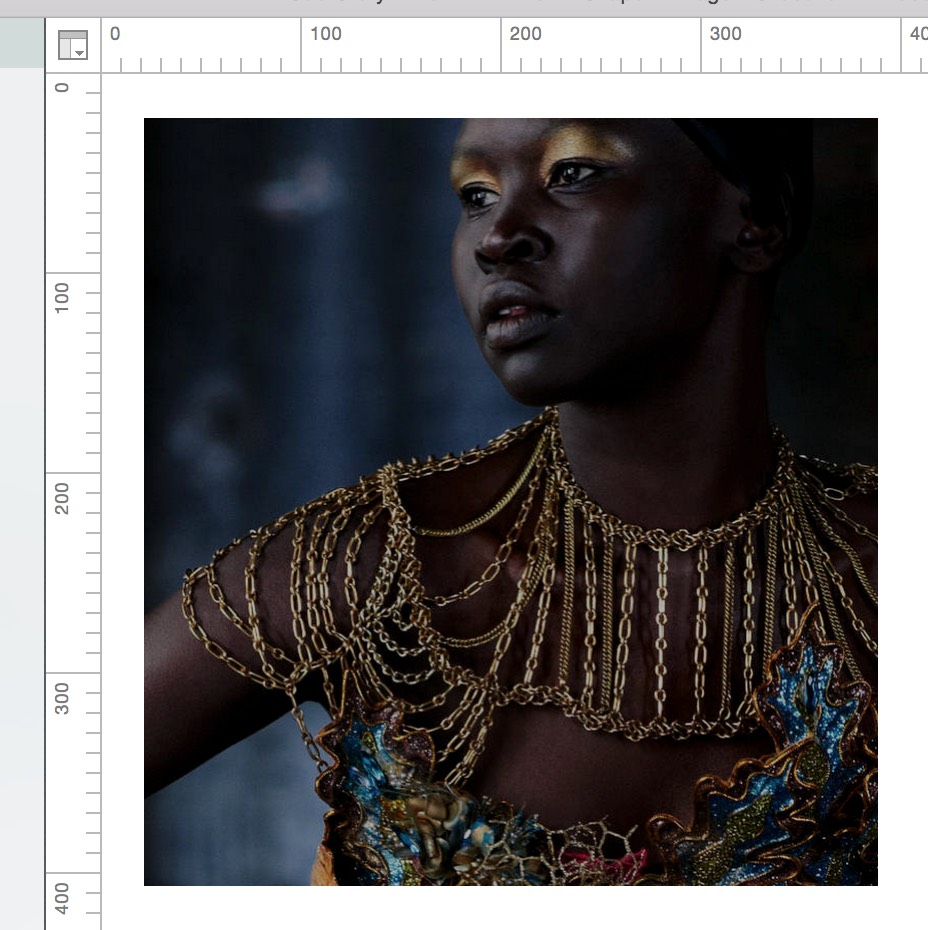
The simplest way to add images to a pagestrip document is to drag them right onto the stage. This works with image files and images you drag directly from other apps, such as your browser or Photos.app.
Once you drop the image, it will be displayed on the page immediately. pagestrip will try to choose a reasonable size for the image, but you can go ahead and resize it yourself if you need to.

You can also instantiate an image right from the document’s Asset Manager: In a similar fashion, just drag an image asset out of the Asset Manager and onto the stage.
If you drag multiple images or image assets to the stage, pagestrip will create a slideshow box instead of an image box for you. However, you can hold down the “Shift” key while dropping the image, and pagestrip will prompt you what to do:
- Create Slideshow creates a new slideshow box and assigns the images to it. This is the default behavior.
- Create multiple Images creates one image box per image instead of a single slideshow box.
If you already have an empty image box on your stage, you can drop an image or image asset on it to assign the image to this box. pagestrip will fit the image into the box, so that the center part of the image is visible, and the box is entirely filled.
If you drop an image or image asset onto an image box that already has an image assigned, pagestrip will replace the image. However, you can also hold down the “Shift” key while dropping the image to be prompted about which action to take.
- Replace Image simply replaces the old image with the dropped one. This is also the default behavior.
- Convert to Slideshow converts the image box to a slideshow box, keeps the current image, but also adds the dropped one(s).
Need more help? Please let us know!